Side Walls & Roof: Home DIY Voiceover Audio Booth Construction - Part 1
My booth design and size was constricted by the closet space I had to fit the booth into. If you have the space I recommend building yours a bit bigger. The ceiling of the booth is 6’ but my husband is 6’3” so he’d have to sit to use the booth.
In Case you missed it:
If you’re just now tuning in you missed the introduction to this blog post! Check out my blog posts “Voiceover Booth Construction Overview” and “Sound Absorption and Sound Diffusion on a Budget” to see if you can get away with treating a room in your home rather than building a booth. Start there for a basic overview of concepts you’ll need to understand in order to assess the effectiveness of various DIY ideas you’ll find on the web.
I lost the original sketches for my booth (someone stole the phone I drew them in!) so I’ve recreated the basic idea below.
These just give you the basic idea so that you can design your own walls.
Sound causes nearby matter to vibrate. The vocal sound you make in the audio booth will cause the booth materials to vibrate. Make sure adjacent items don’t bump or scrap each other due to this vibration. You can accomplish this using acoustical caulk. I went with Lepage Acoustical caulk which is quite similar to the caulk recommended on several blogs. About 10 months later I found a blog recommending a less messy but still effective alternative. I wish I had found that sooner! The acoustical caulk I used is a nasty substance that tested the strength of the everyone’s character. The goopy stuff slimes all over the place and sticks to everything, never to come out. I can’t emphasize enough how terrible this stuff is. You have been warned. But on the bright side, it ensured that the adjoining wood surfaces don’t rub together.
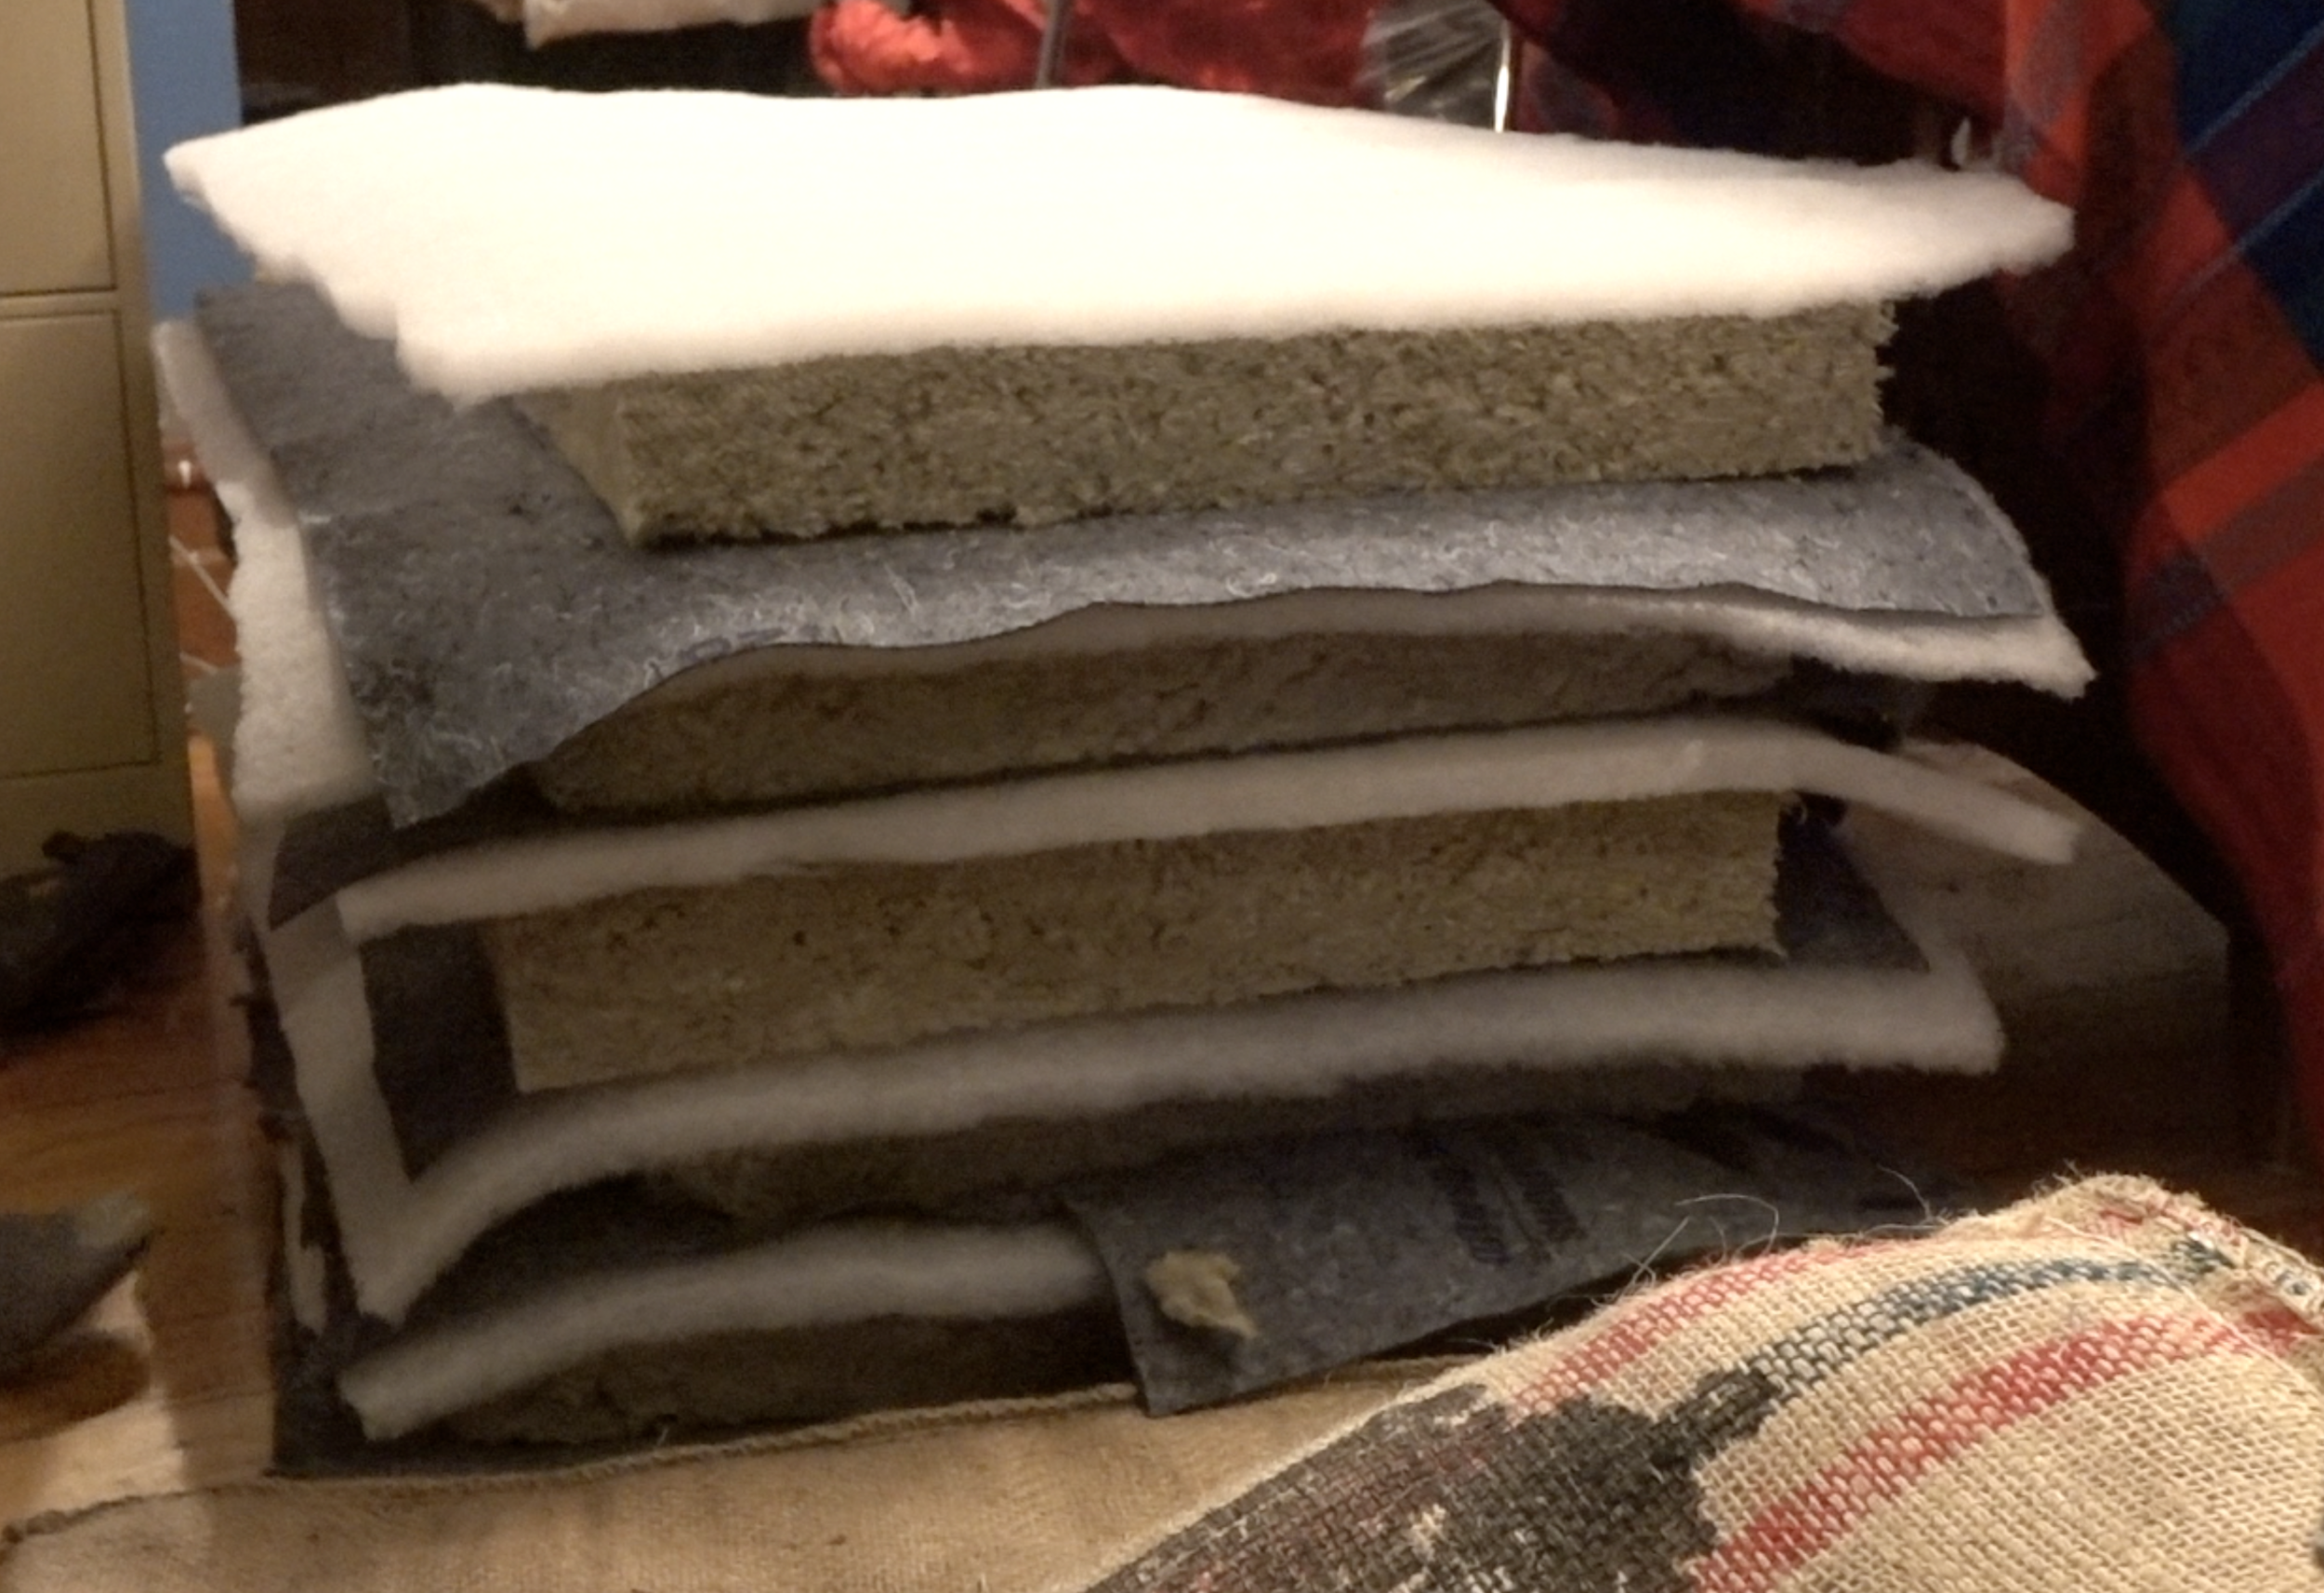
After caulking the joints and connecting surfaces, plywood is screwed to a frame made of 2x3’s. We used a generous amount of screws - once again to discourage any movment and vibration. Despite my desire to document all aspects of this construction, I wasn’t able to capture the frustration caused by the acoustical caulk nor the grunting and pain of moving these heavy monstrous walls. The caulk was so awful we revisited the design while I was putting the insulation in the walls. While no alternative to the heavy 5/8ths plywood was found, we decided that we could forego the caulk and just put a layer of floor sound barrier and a moving blanket between the studs and the outer plywood. Not sure if this helped our sound considerations but it was a lot nicer to work with than the caulk. This method was used on the roof and two side walls.
Before we put the roof and door wall on, we have to build the base trap end walls. Check out the next blog & video to see how we accomplished this.
Please be safety conscious
If you decide to build your own booth, wear appropriate safety items even if you don’t see us wear them in the video and photos - mask, gloves, goggles, steel-toed boots, safety climbing harness, hard hat, ear plugs, hazmat suit…you get the idea.
Materials List:
Below is the materials list for the entire booth. Bold items are implicated in the wall and roof build.
(8) Sheets of 4’x8’ 5/8ths plywood
(12) 2x3’s - 8 feet long
Acoustical Caulk
Box of screws
(4) 1x6’s - 8 feet long
(2) 2x6’s - 8 feet long
Roxul Safe n Sound
Roxul Comfortboard 80
8 moving blankets
Interior door
Floor Sound Barrier Material
4” Insulated flex tube
Tools:
Tape measure
Pencil
Drill - screw bit and drill bit
Breadcutter knife
Circular Saw
Jig saw
Caulk Gun


